To begin forms processing, first create a form set with one or more forms to compare against your filled-in forms. The steps to accomplish this are defined below.
 |
For information on the defined window areas and tools of FormAssist, see Concepts > General FormAssist Usage. |
Steps to Create a New Form Set
 |
Mouse over areas of interest on the image for descriptions. |
-
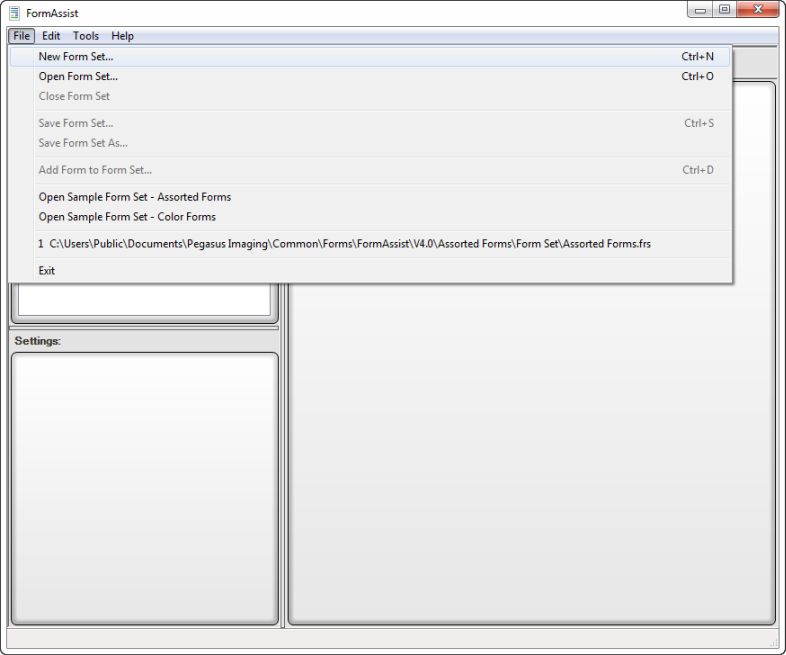
Select File from the menu bar.
-
Select New Form Set... from the drop down options.
-
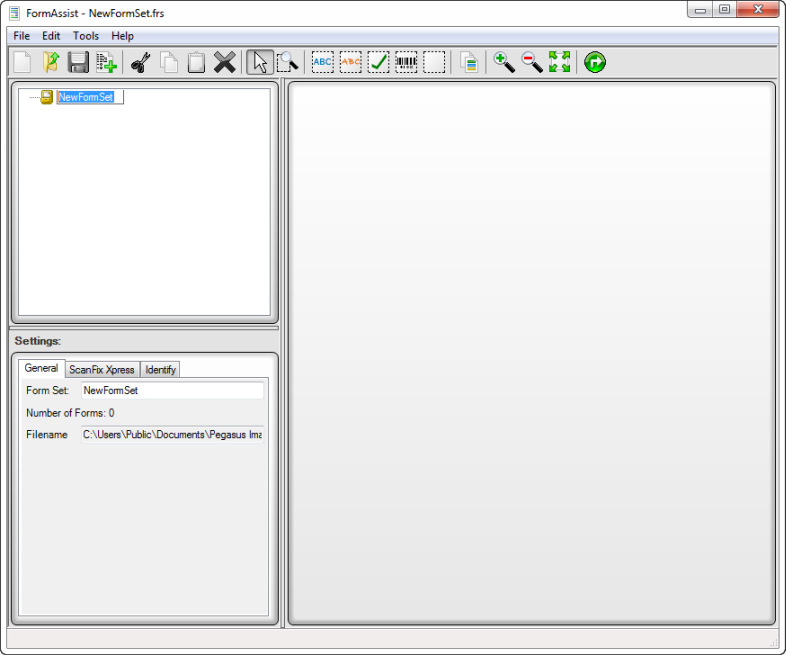
Rename your form set.
- Modify the current form set name in the top left or bottom left panes, as shown below.
-
The form set name can be changed at any time.
-
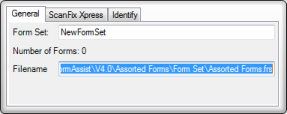
Set the Form Set Properties in the Properties View
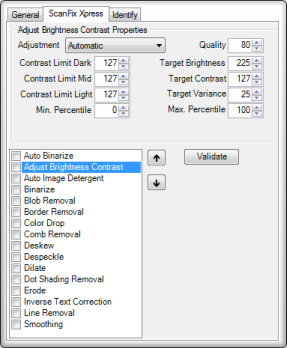
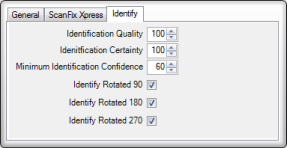
When the form set name is selected in the Tree View, the available properties are shown categorized by folder tabs in the Properties View. Set the properties for identification (Identify), and image enhancement (ScanFix Xpress), for the entire form set. These settings are then used during form processing when your filled-in forms are run against the form set. See the Forms Processing topic for more information.
The properties include:
Property Tab Image Description General These properties allow you to modify the form set name, filename location and state the number of forms. ScanFix Xpress
These properties allow you to set the image operations for all forms that are processed against the selected form set. See the Form Set ScanFix Xpress Properties topic for detailed information on each property. Identify
These properties set the quality, certainty, confidence and rotate any forms processed against the form set as specified. See the Form Set Identify Properties topic for detailed information on each property.
-
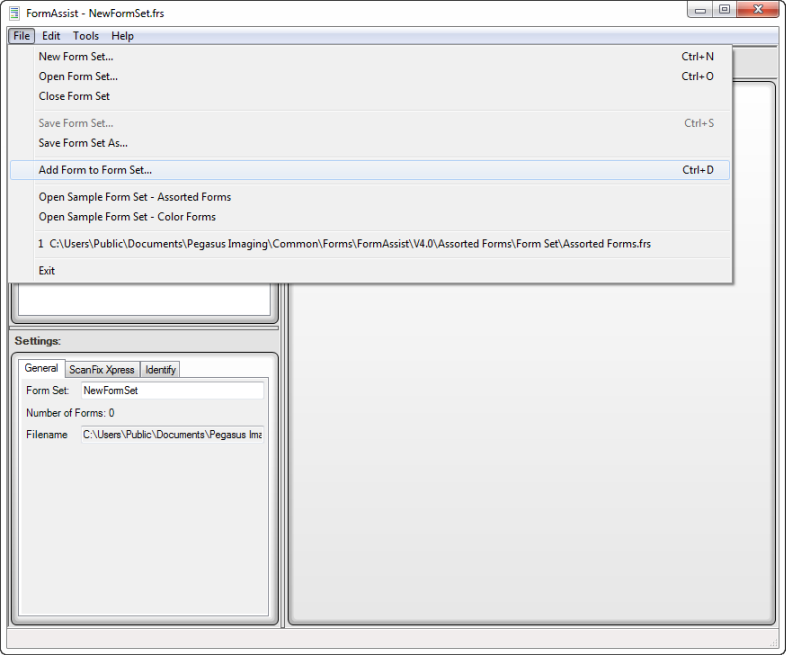
Select File from the menu bar.
-
Select Add Form to Form Set... from the drop down options.
-
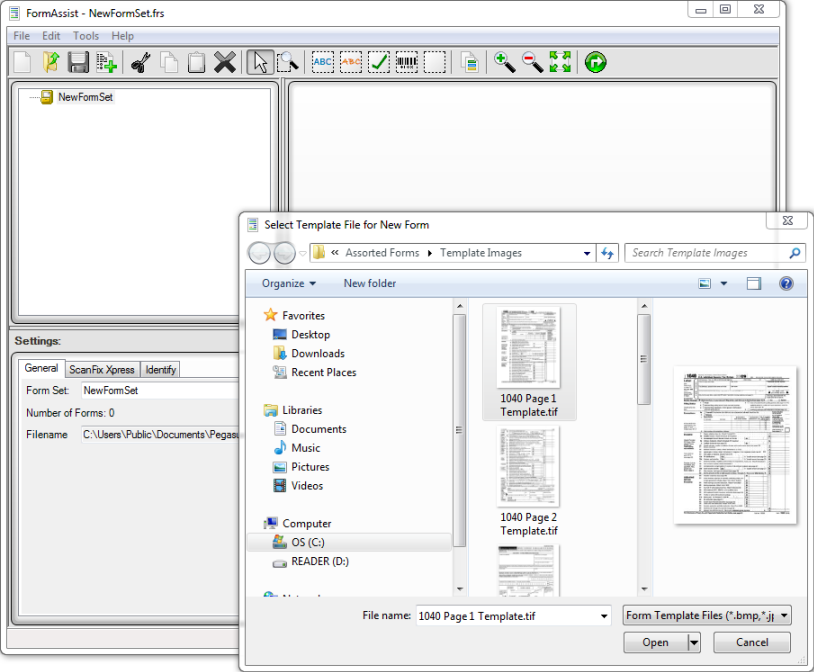
Select a blank (not filled-in by a respondent), original form from within the dialog window to be used as a form template.
-
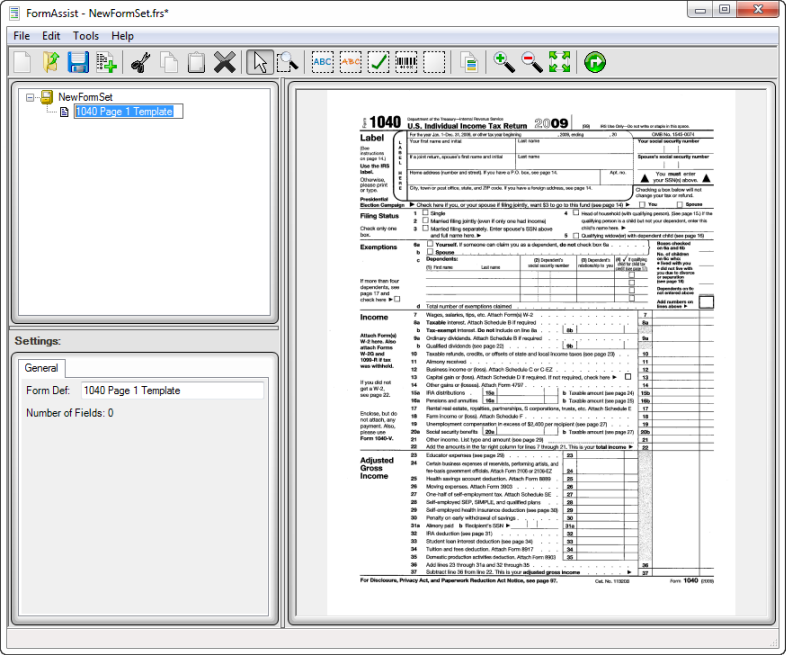
Once the form is selected, it will appear under the form set name in the Tree View and the form images will display in the Image View as shown below.
-
The form can now be used as a template. See Define and Create Templates.
-
The name can be changed from within the Tree View or the Properties View.
-
Fields and image operations can now be added to the form.
-
The added form is now ready to be used as a template.
Click Save Form Set on the toolbar to save the added form.
See the Define and Create Templates topic for more information.


